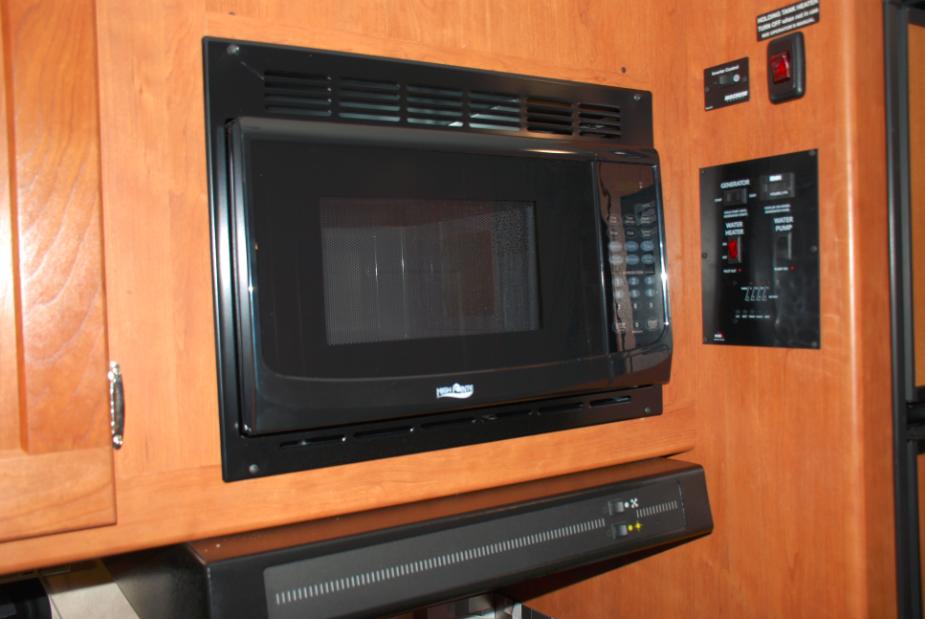
The High Pointe Microwave Oven in my Minnie Winnie 22M stopped heating. The light and turntable were working, but no microwave heat. I ordered an exact replacement from
Factory RV Surplus
Here are the model numbers:
EM925AWW (The model number written on both the original microwave and the new replacement)
EM925AWW-B (The model number that I ordered from Factory RV Surplus, but the microwave itself does not show the -B)
EM925RWW (The model number written in the originally supplied Winnebago information)
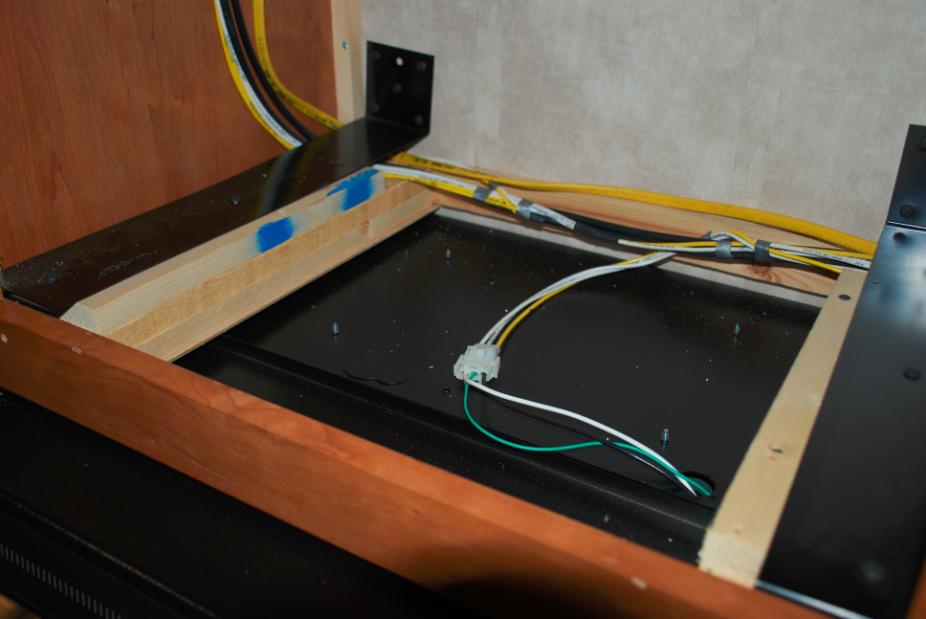
After I removed the original microwave oven, I noticed that the base tray was mounted left-of-center (½" space on the left, and 1&11/16" space on the right.) Also, the tray was dipped-down in the middle, and was only held in place by strips of double-back tape; one on each side. Because the required cross-brace supports were never installed, the microwave sagged upon installation, as is evidenced by the top screws which came-in too low to properly grip the top frame of the cabinet opening.

The framework here is solid, but missing the required cross supports.
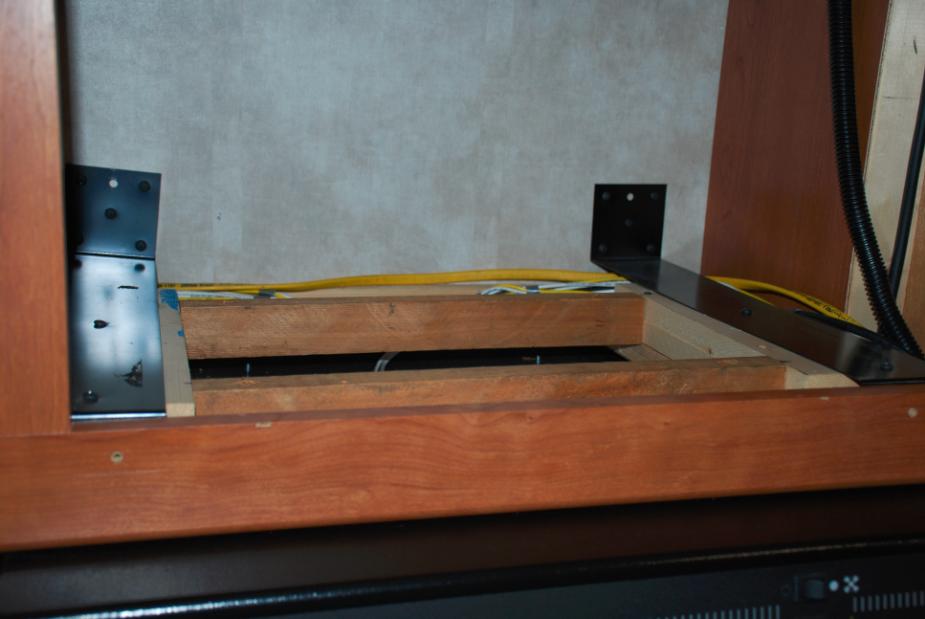
I installed two 1"x1½" fir cross-braces at about 11&7/8" long. I used four 3" Guard Dog screws (one at each end) to secure the braces; screwing them in at about a 45º angle.
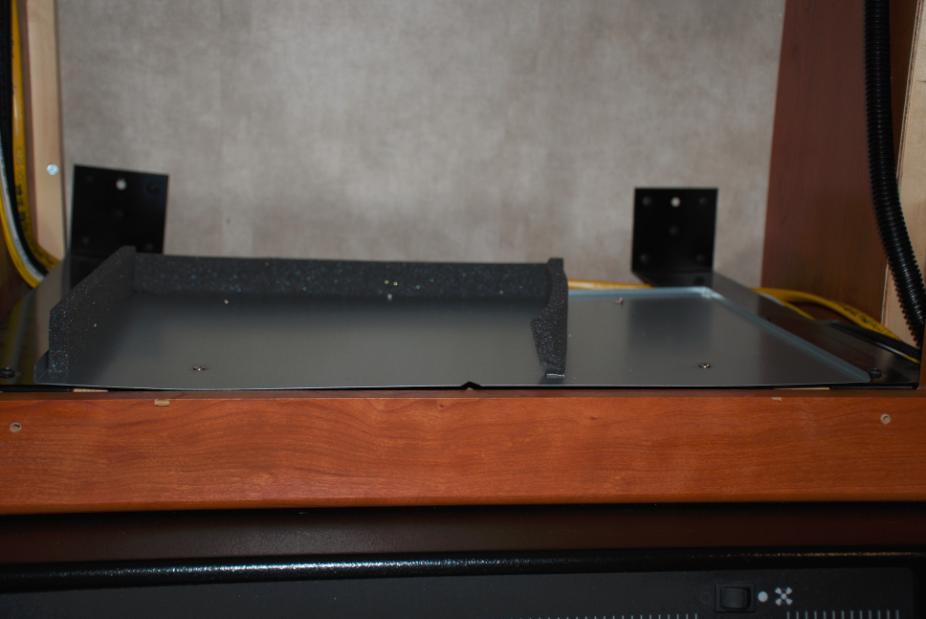
The new base pan (provided with the replacement microwave) installed in the center of the cabinet. I set the front-edge of the pan at 1/16" back from the inside edge of the cabinet frame. The pan is secured into the cross-braces through the pre-drilled holes with four flat-head wood screws.
Be sure to fill the two old holes in the bottom of the cabinet frame with wood putty, as these will show a little because the microwave will end-up being mounted higher, and to the right.
A new air scoop and perimeter frame are provided with the new microwave.
First install the exhaust air scoop onto the top of the microwave with the four provided screws.
Next, with the microwave resting on a soft surface on its back, install the face plate with its four provided screws. Do not set-down the microwave upon the face plate, as that will bend it.
While holding the microwave in your left hand, thread the power cord through the hole in the cabinet to the left, then carefully slide the microwave into place.
Center the microwave in the cabinet (left-to-right,) and then secure with the original Winnebago-supplied four self-tapping wood screws.
The new microwave comes with a 1-year warranty.
Thanks, Eagle5


 Linear Mode


