Here's how I ran the wires, though I see I'll need to take a couple more photos so you can see the final results. I'll do that tomorrow. Meanwhile....
The route I took was to send the wires along the top edge inside the cabinet above the sink, continue on into the microwave cabinet, then down the corner of the microwave cabinet down to the countertop in the back corner where the stove meets the fridge. Once the wire goes under the countertop, it can be fished under to the water pump area and then up behind the drawers to the switch location in that cabinet. The visible wire is hidden in aluminum trim (photos I need to take). The net is that this wasn't really an easy project. But I had time to kill waiting for parts to arrive for another project, so here I was doing this!
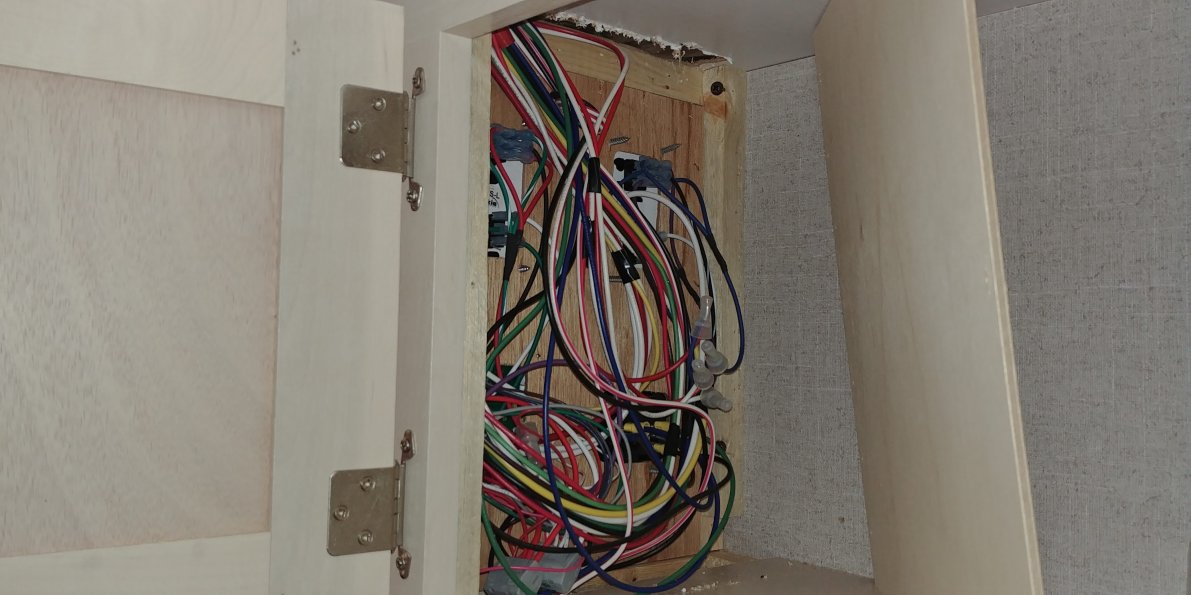
If you ever remove the access panel behind the control panel (above the sink) you'll see this heap o'wires. Since we are looking at the back side, you can see the switch in the lower right.
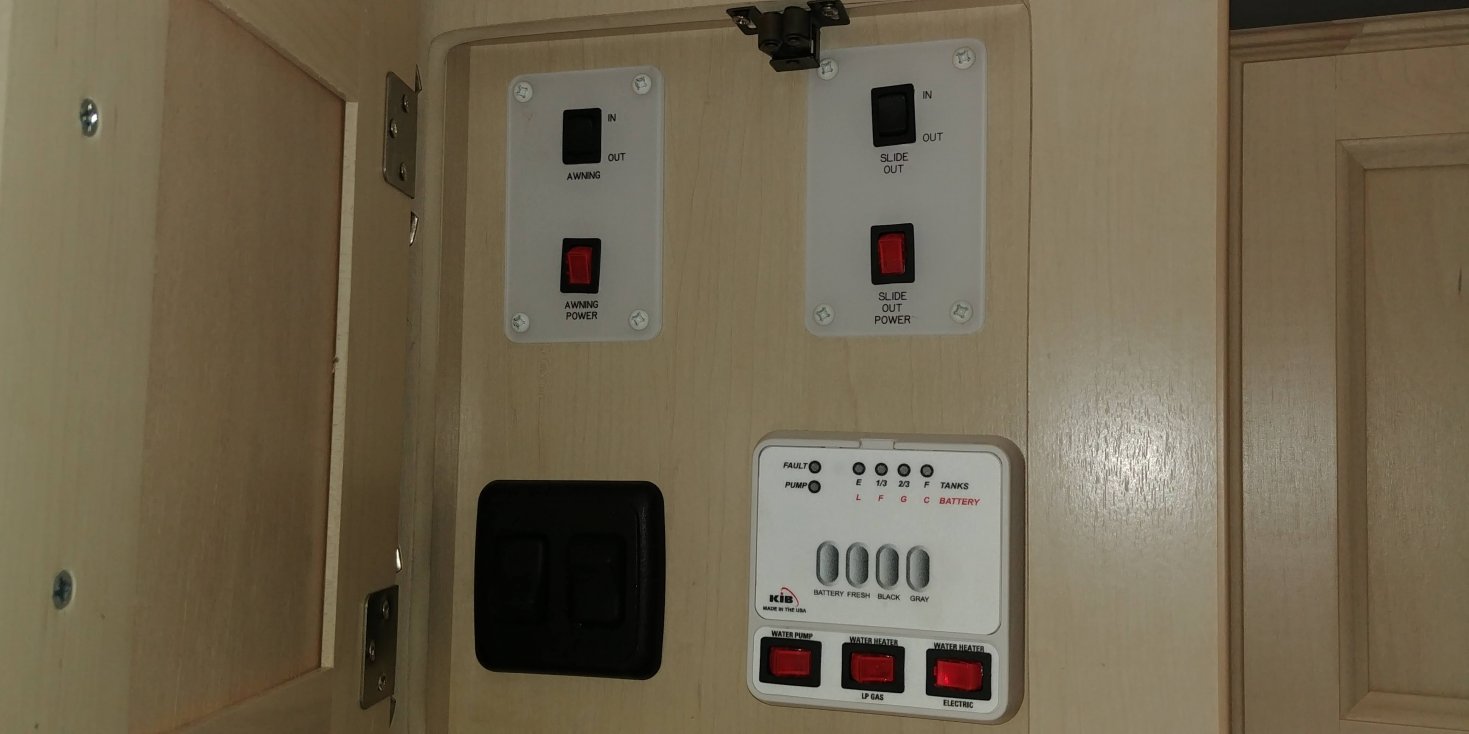
The control panel looks like this, of course, from the front (for those who maybe don't have a 2108DS or similar).
And the switch looks like this when you pry the bezel off and remove the two screws holding it in place. Note that this is really a 3-wire setup. The +12V comes in on the black wire in the back and is fed to the switch in the front via the brown wire. The green wire goes to the interior LED dome, and the blue wire goes to the exterior lights. So I really only needed to route the black, green, and blue wires. The brown moved with the switch.
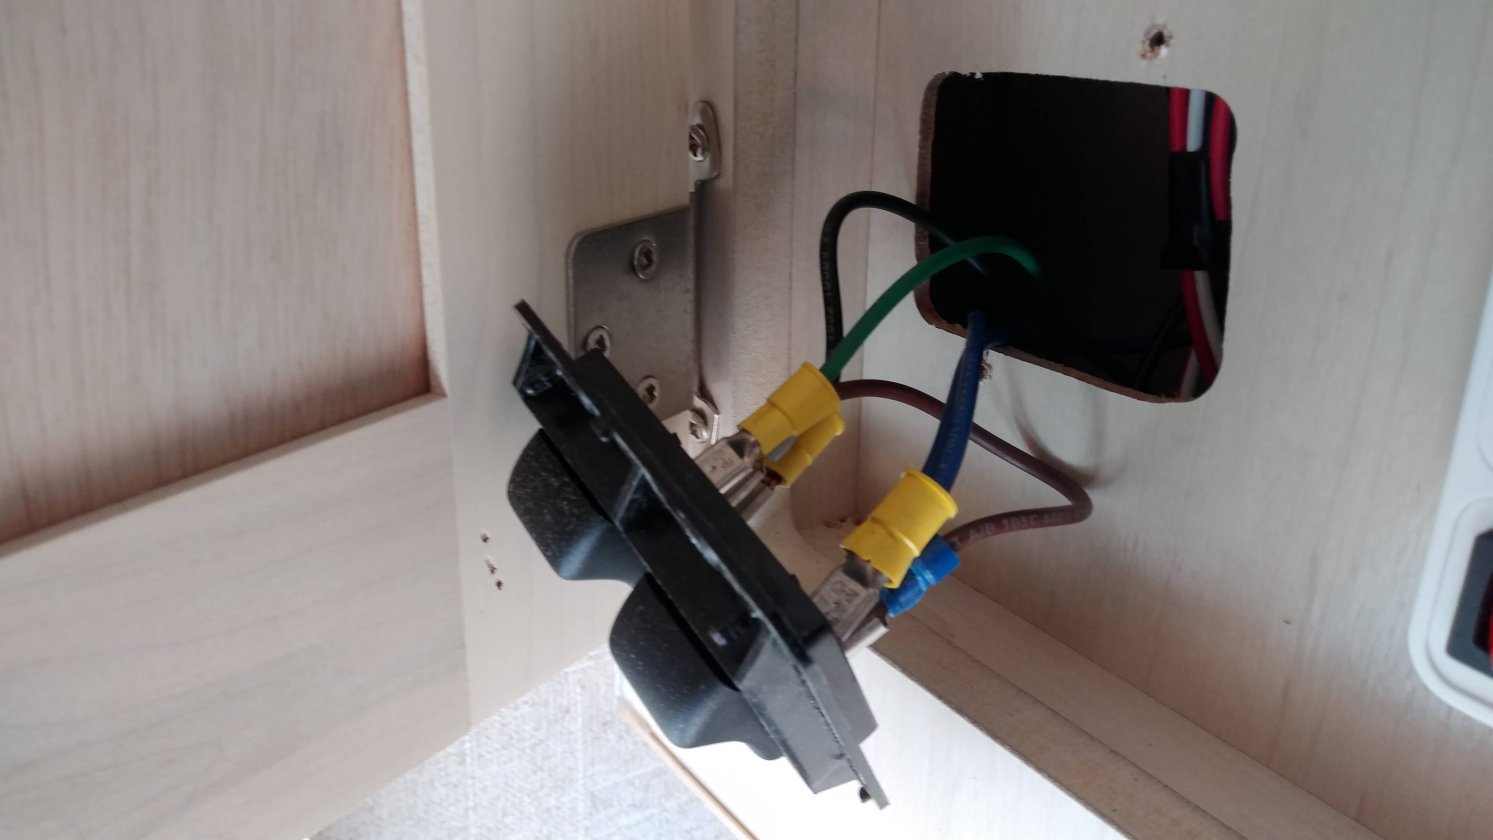
I noted the wires were 16 gauge so I went with that. Seems very heavy for what these were doing, but I assume the fuse was sized for it and didn't want to add extra mystery fuses.
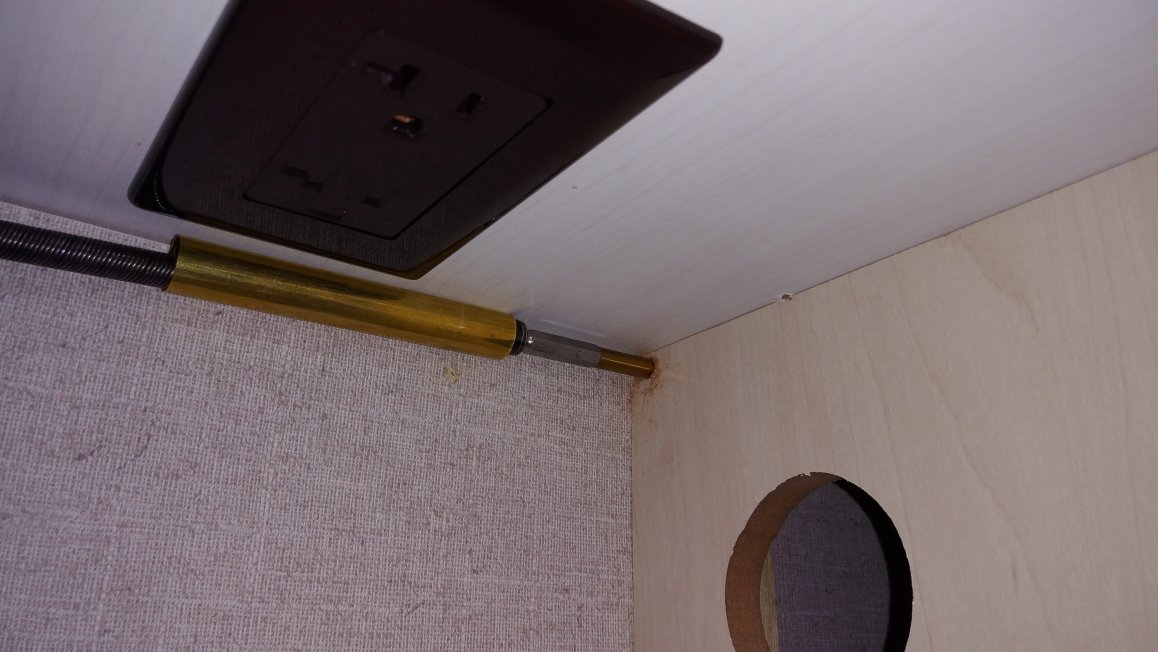
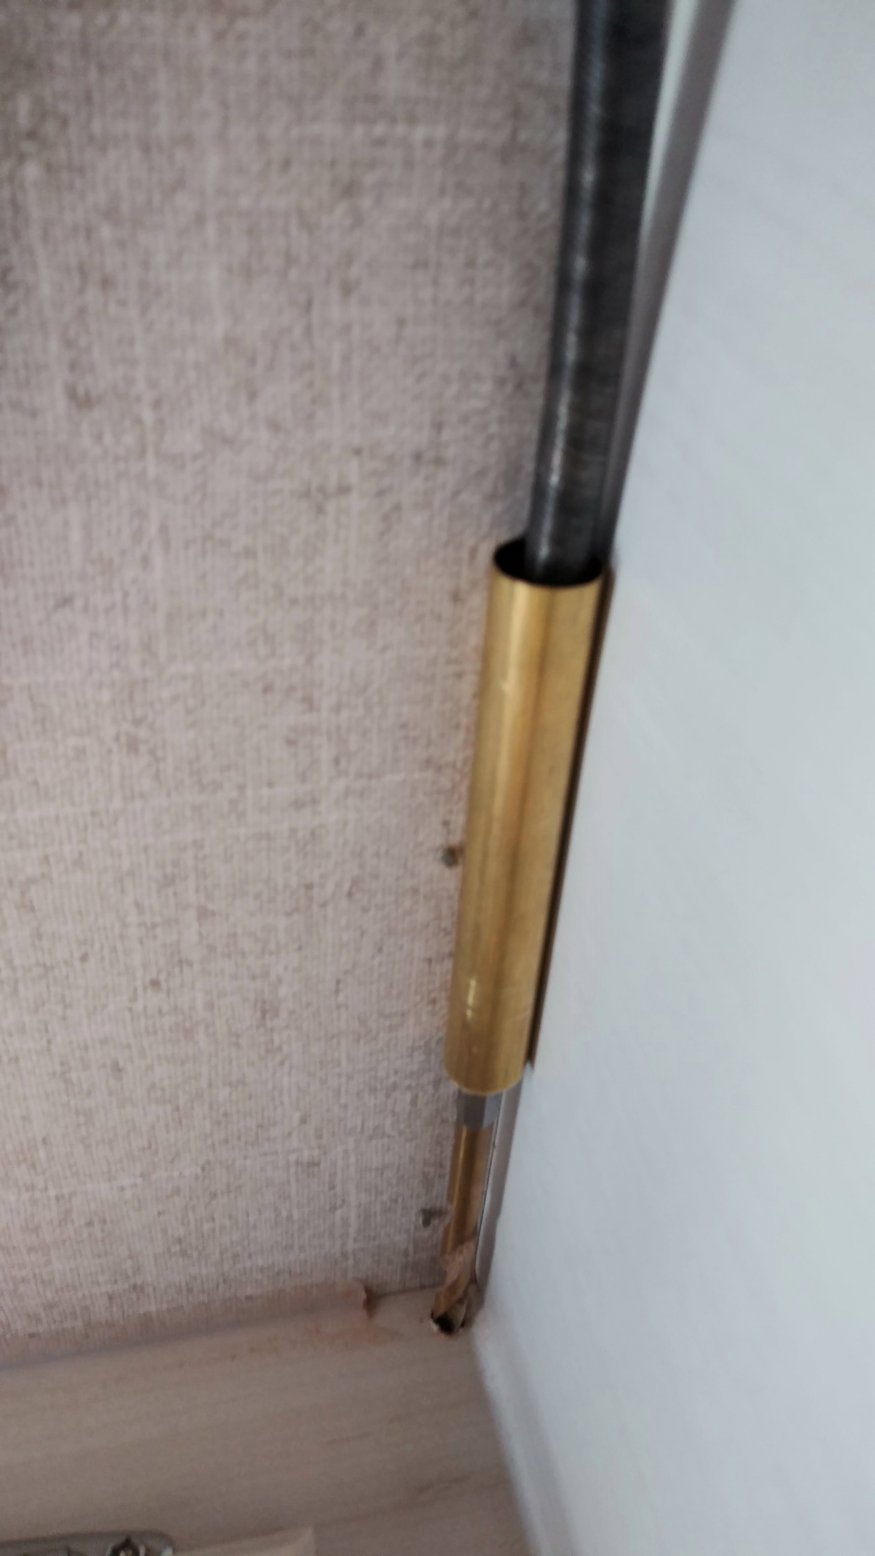
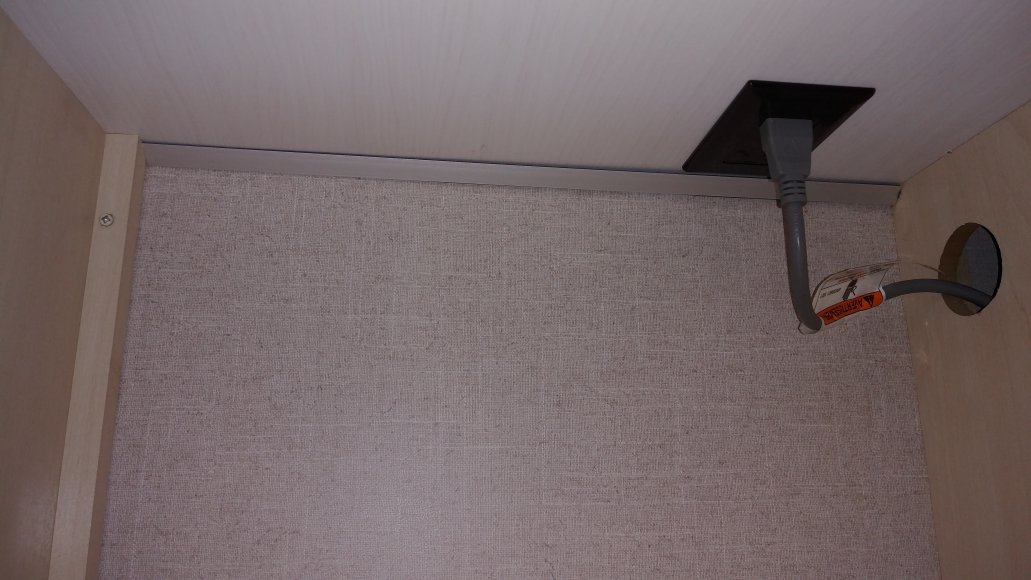
I found a nice way to drill tight into corners without mussing up the finish was to use a setup like this. That's a flex shaft for my drill that's driving a hex-end drill bit. I found some brass tube that was a pretty good fit that made it easy. All I'd do is hold the brass tube into the ceiling/wall edge, flex the drill aside, and drill away. It kept the drill running pretty straight so I didn't need to worry about running into the wall. Note in this photo the microwave is removed from the adjoining cabinet.
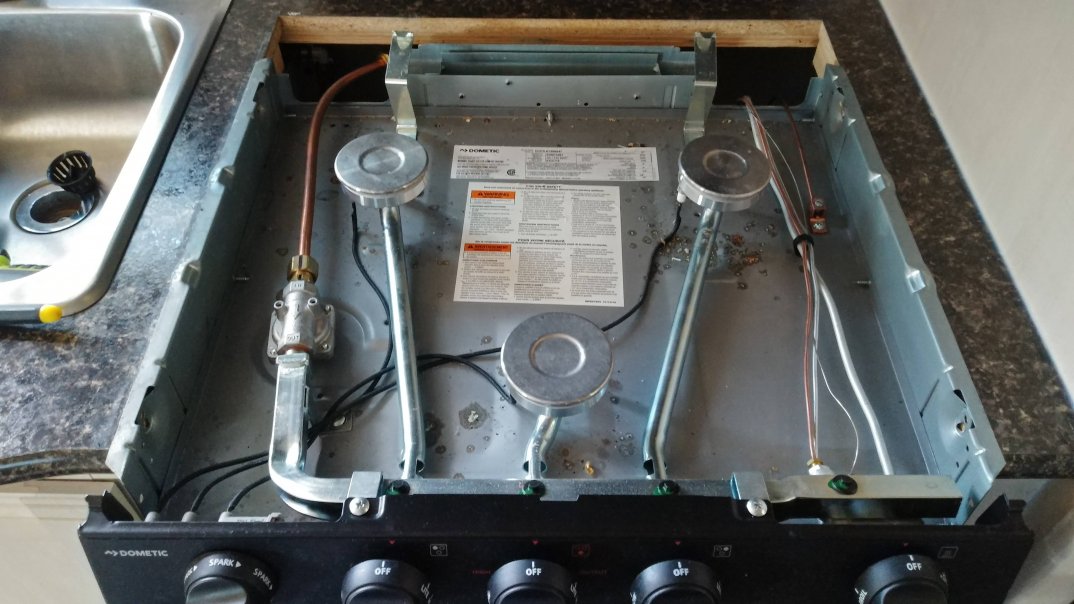
I pulled the stove slightly forward so I could run the wire behind it. This was only tricky because there are no clear instructions on how to do it. It turns out the cover comes off super easy by lightly bending the hinges in the back to let them off their pins. Then the cover comes off, and of course the grate is easy to take off. The top that covers the burners next comes off by sliding it hard to the back (and I mean HARD) and then pulling up on the front. Once you've done it, it's easy-peasy! This is worth learning if only to clean around the burners (note I have some mess to clean already).
Finally, there are two obvious screws on each side along the top edge, and then there are two screws below the oven door. I slid it out a few inches as you see here. All I needed was access and didn't want to disconnect LPG.
Oh, and of course the LPG was off for this part!
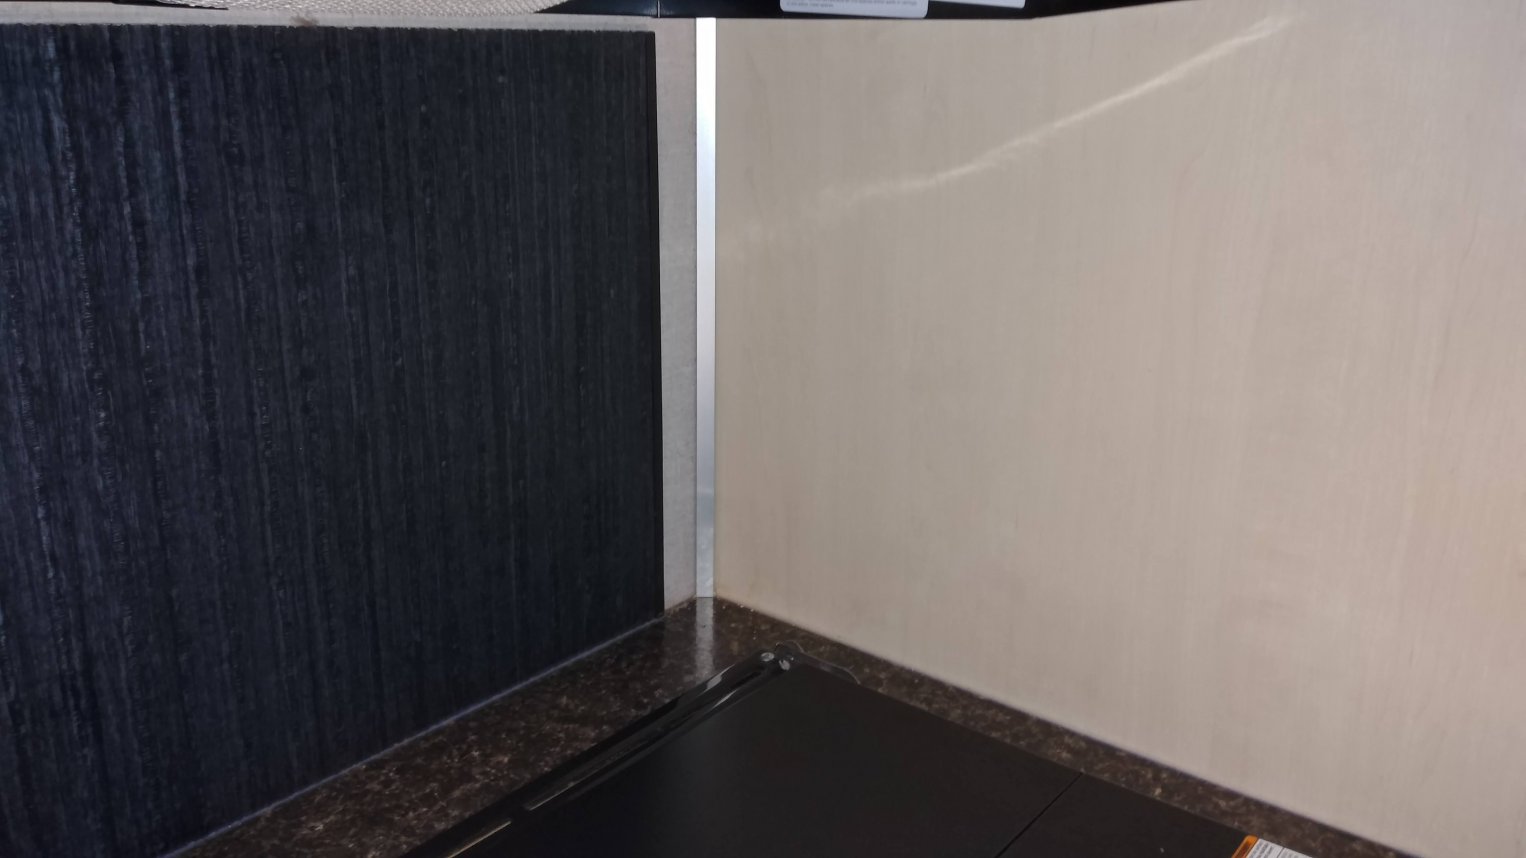
Then finally I could drill down into the corner of the microwave cabinet, and do the same into the corner of the countertop behind the stove.
Then it was just a matter of fishing the bundle of 3 wires all the way and covering the visible stuff with trim. I'll take a couple photos of that and post soon.


 Linear Mode


